


For more details on this content, please review the step-by-step guide and frequently asked questions.
AD
AD
AD
AD
How To Create Stunning Graphics with Free Tools
A Comprehensive Guide to Crafting Beautiful Graphics with Free Tools
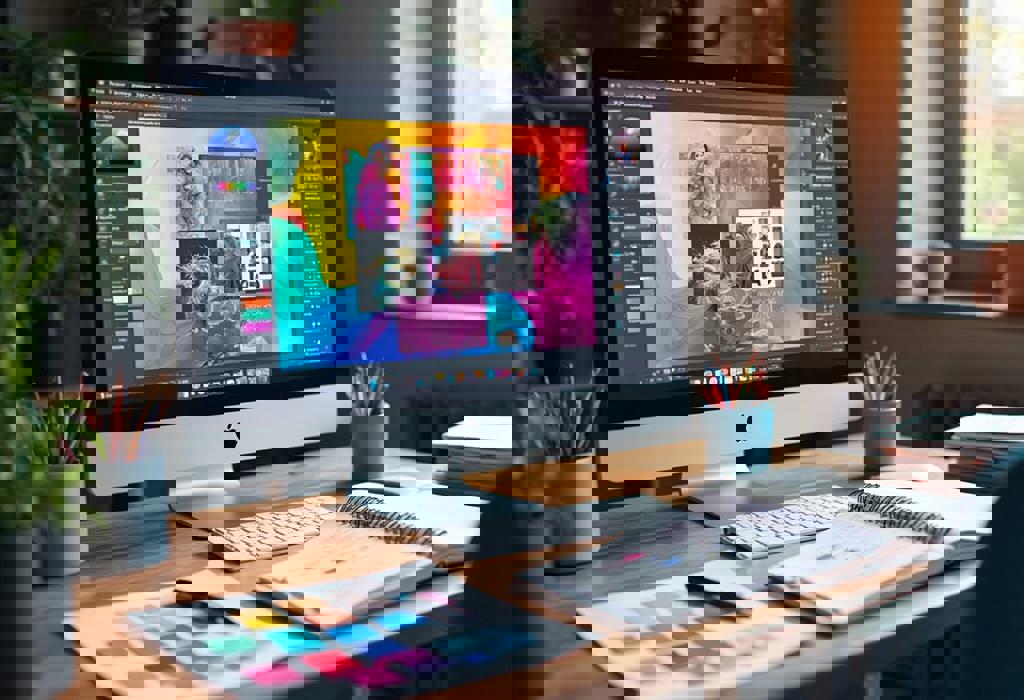
Step-by-Step Guide
1
Identify Your Purpose
Determine what you want to accomplish with your graphics. Are you designing for social media, a presentation, or a personal project? Understanding your goal will help you choose the right tools and style.
2
Choose the Right Free Tools
Explore various free graphic design tools available online. Some popular options include Canva, GIMP, Photopea, and Inkscape. Each tool has its unique features; select the one that best fits your needs.
3
Understand Basic Design Principles
Familiarize yourself with fundamental design principles such as contrast, alignment, repetition, and proximity (the CARP principles). This knowledge will enhance the overall quality of your graphics.
4
Select a Template
Once you've chosen a design tool, browse through available templates that match your purpose. Templates can provide a solid starting point and give your graphics a professional flair.
5
Customize Your Design
Modify the template according to your preferences. Change colors, fonts, and images to better align with your brand or personal style. Ensure that your graphic remains coherent and visually appealing.
6
Incorporate Visual Elements
Add relevant images, icons, and illustrations that complement your design. Websites like Unsplash, Pexels, and Flaticon offer free resources. Ensure these elements are high-quality and licensed for free use.
7
Pay Attention to Typography
Select fonts that are easy to read and match the tone of your graphic. Limit the use of different font types to 2-3 to maintain consistency and readability.
8
Utilize Color Theory
Choose a color palette that evokes the desired emotions and stays true to your brand or theme. Tools like Adobe Color can help you create or choose engaging color schemes.
9
Add Text and Messages
Incorporate compelling message and copy. Keep it concise and ensure it aligns with your overall design. Highlight key points using different font weights or sizes.
10
Review and Edit
Take a step back and examine your design. Check for any spelling errors, alignment issues, or inconsistencies. Don’t hesitate to make significant changes if necessary.
11
Export Your Graphic
Once satisfied, export your graphic in the appropriate format, typically JPEG or PNG for online use. Ensure you save your work in the designated tool, so you can edit it later.
12
Share and Promote
Finally, share your graphics on the intended platforms, whether that’s social media, a blog, or a presentation. Promote your work to reach a wider audience.
Frequently Asked Questions
Some popular free graphic design tools include Canva, GIMP, Photopea, and Inkscape. Each offers unique features suitable for various design needs.
To ensure your graphic is visually appealing, familiarize yourself with design principles like contrast, alignment, and color theory. Use high-quality images, maintain consistency in colors and typography, and always review your work before finalizing it.


